
Step 1: Add Buttons in Elementor
1. Open the Page or Template in Elementor:
- Navigate to the page, header, footer, or section where you want to add a button.
- Click Edit with Elementor.
2. Add the ElementsKit Button Widget:
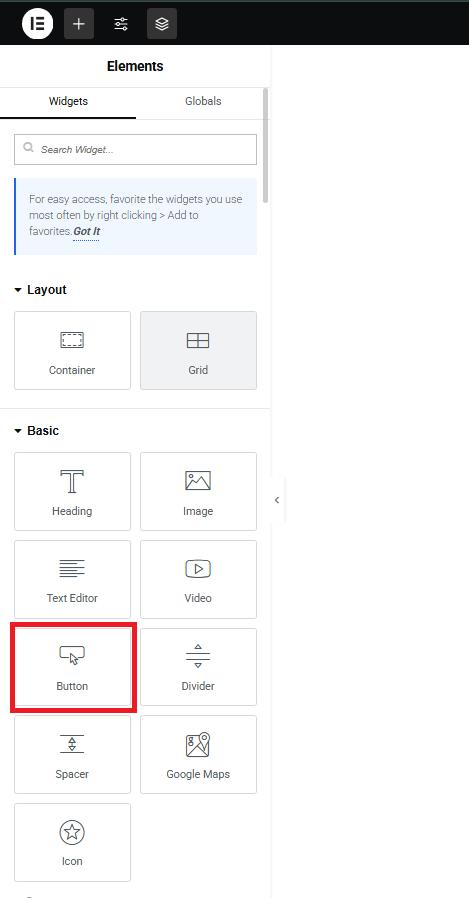
- In the Elementor editor, search for “Button” in the widget panel.
- Drag and drop the ElementsKit Button widget into the desired section.
3. Customize the Button:
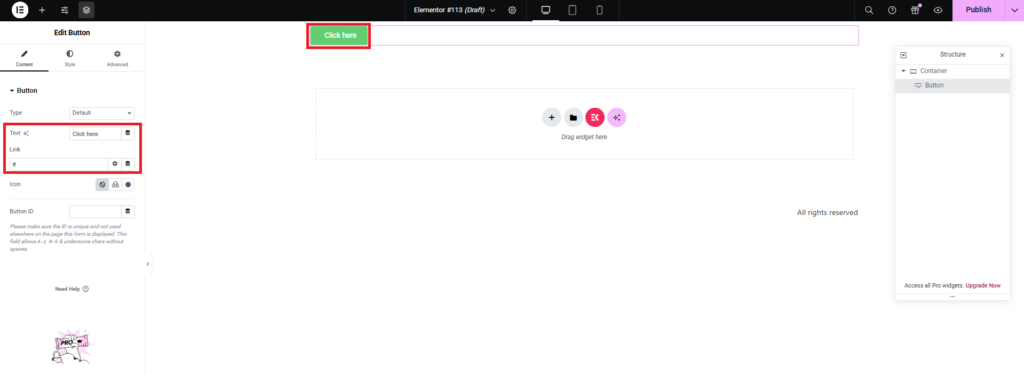
- Text: Enter the text you want to display on the button (e.g., “Learn More”, “Contact Us”).
- Link: Add the URL where the button should redirect when clicked. You can:
- Enter a full URL (e.g.,
https://example.com). - Add
#section-idfor anchor links within the same page.
- Enter a full URL (e.g.,
- Alignment: Use the alignment options to position the button (left, center, right).
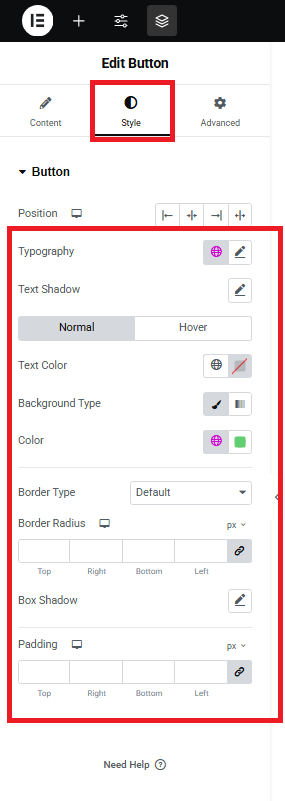
4. Style the Button:
- Go to the Style tab.”
- Customize the button’s:
- Typography (font size, weight, family).
- Color (text, background, hover effects).
- Padding for spacing.
- Border (solid, dashed, rounded corners).
- Typography (font size, weight, family).
5. Advanced Options (Optional):
- Add animations or adjust spacing using the Advanced tab.
- Use conditions to control where and when the button appears.
Step 2: Save and Publish
- Once you’ve customized the button to your liking, click Update or Publish to save the changes.
