
“Create Space with Padding and Margins” in Elementor refers to the use of spacing properties to adjust the layout and create visually appealing designs. Padding and margins allow you to control the distance between elements and their surroundings, providing flexibility for customization. Here’s how to use these features effectively:
1. What Are Padding and Margins?
- Padding: Adds space inside an element, between the element’s content and its border.
- Example: Space between text and the edge of a button.
- Example: Space between text and the edge of a button.
- Margin: Adds space outside an element, separating it from other elements.
- Example: Space between a button and the text above it.
2. How to Adjust Padding and Margins in Elementor
Step-by-Step Instructions:
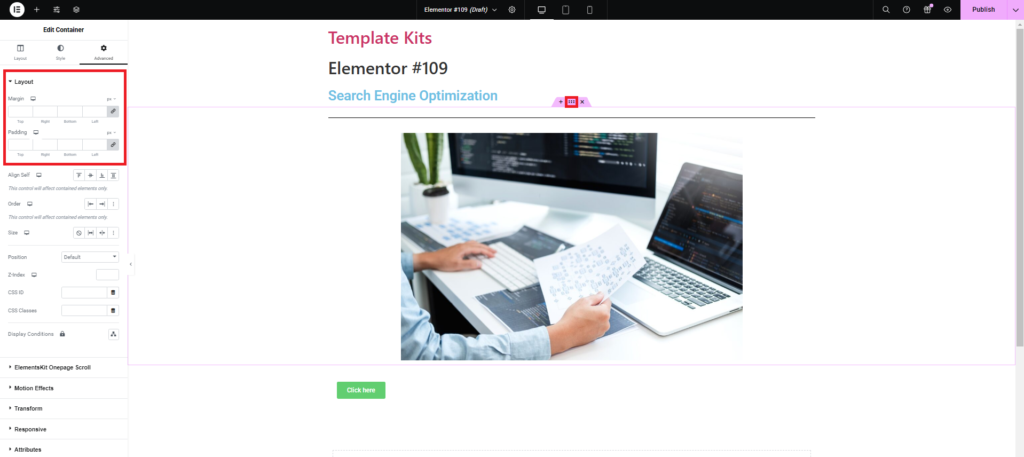
- Select the Element: Click on the widget, column, or section you want to modify.
- Go to the Advanced Tab: In the Elementor panel, navigate to the Advanced tab.
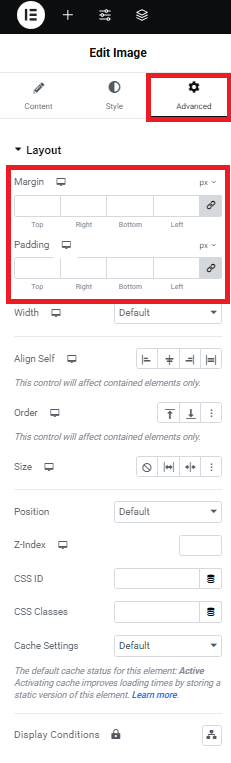
- Adjust Padding and Margin:
- Margin: Use the margin fields to add or reduce space outside the element.
- Padding: Use the padding fields to add or reduce space inside the element.
Linked vs. Unlinked Values:
- Linked Values: When the link icon is active, changing one value (e.g., top) will apply the same value to all sides.
- Unlinked Values: Click the link icon to unlink the values and set different spacing for each side (top, right, bottom, left).
3. Practical Examples
Example 1: Add Space Around a Button
- Select the button widget.
- Go to the Advanced tab.
- In the Margin field, set:
- Top:
20px - Bottom:
20px
- Top:
- In the Padding field, set:
- Top:
10px - Bottom:
10px - Left:
20px - Right:
20px
- Top:
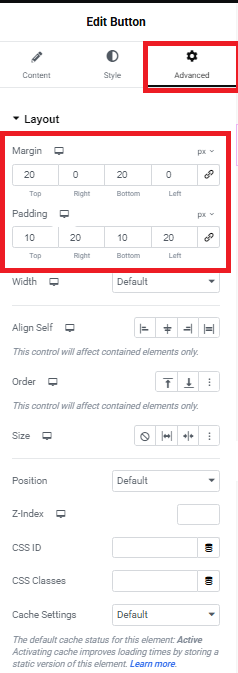
This adds space around the button (margin) and increases the clickable area (padding).
Example 2: Create Equal Spacing in a Section
- Select the section handle (blue six-dots icon).
- Go to the Advanced tab.
- Set Padding to
50pxfor all sides (linked). - Set Margin to
0pxto ensure no extra space outside the section.
4. Tips for Using Padding and Margins
- Use Pixels, Percentages, or EM Units:
- Pixels (px): Best for precise spacing.
- Percentages (%): Useful for responsive design.
- EM or REM: Scales with font size for better accessibility.
- Avoid Overlapping Spacing:
- Too much margin or padding can make the design look cluttered or uneven.
- Too much margin or padding can make the design look cluttered or uneven.
- Check Responsiveness:
- Use Elementor’s responsive mode to adjust padding and margins for desktop, tablet, and mobile devices.
- Use Elementor’s responsive mode to adjust padding and margins for desktop, tablet, and mobile devices.
- Visual Consistency:
- Maintain consistent spacing across elements for a clean and professional design.
5. Where to Use Padding and Margins
- Padding: Inside buttons, containers, or sections to create breathing room for content.
- Margin: Between sections, widgets, or columns to separate elements.
Example with CSS for Better Control
If you want to customize padding and margins further, you can use custom CSS:
css

.element-class {
  padding: 20px 10px; /* Top and bottom: 20px, left and right: 10px */
  margin: 30px 0;     /* Top and bottom: 30px, left and right: 0 */
}
Note: Custom CSS is available in Elementor Pro.
