
To set up headers and footers in Elementor Template Kit Free using ElementsKit, you can follow these steps. ElementsKit is a powerful addon for Elementor that provides a variety of widgets and functionalities, including a Header & Footer Builder, which works even with the free version of Elementor.
Step 1: Install Elementor and ElementsKit Plugin
- Install Elementor:
- Ensure that Elementor is installed and activated on your WordPress website. You can do this by going to
Plugins > Add New, searching for Elementor, and clicking Install Now.
- Ensure that Elementor is installed and activated on your WordPress website. You can do this by going to
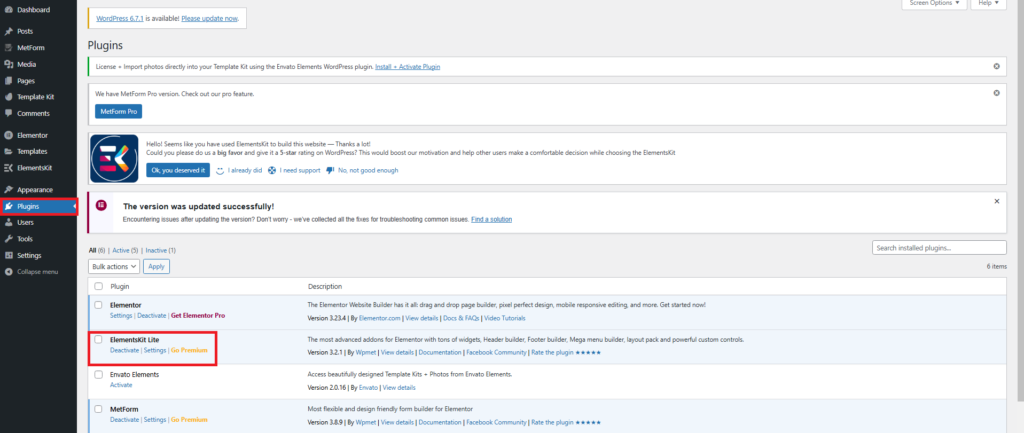
- Install ElementsKit Plugin:
- Go to
Plugins > Add New, search for ElementsKit, and click Install Now and then Activate.
- Go to
Step 2: Set Up Header and Footer Templates
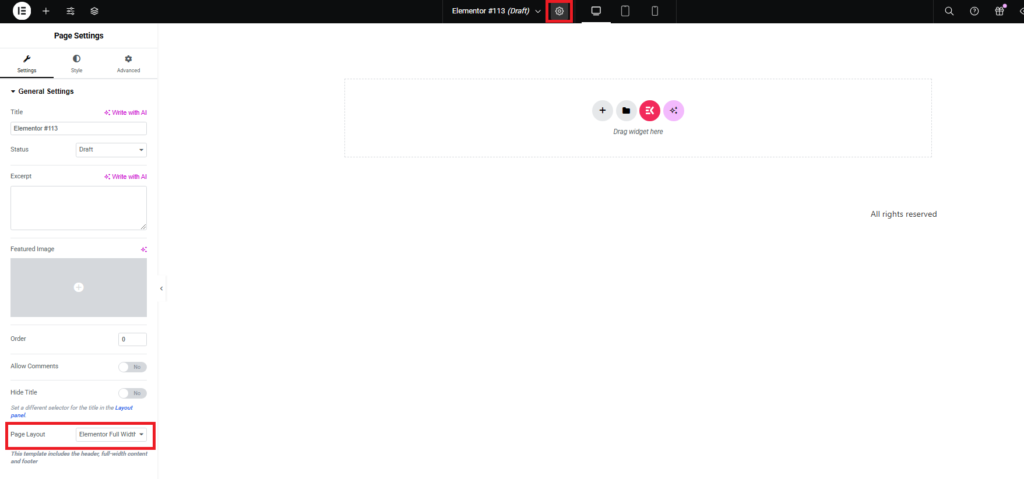
Once ElementsKit is installed, you can use its Header & Footer Builder feature.
Create a Header Template
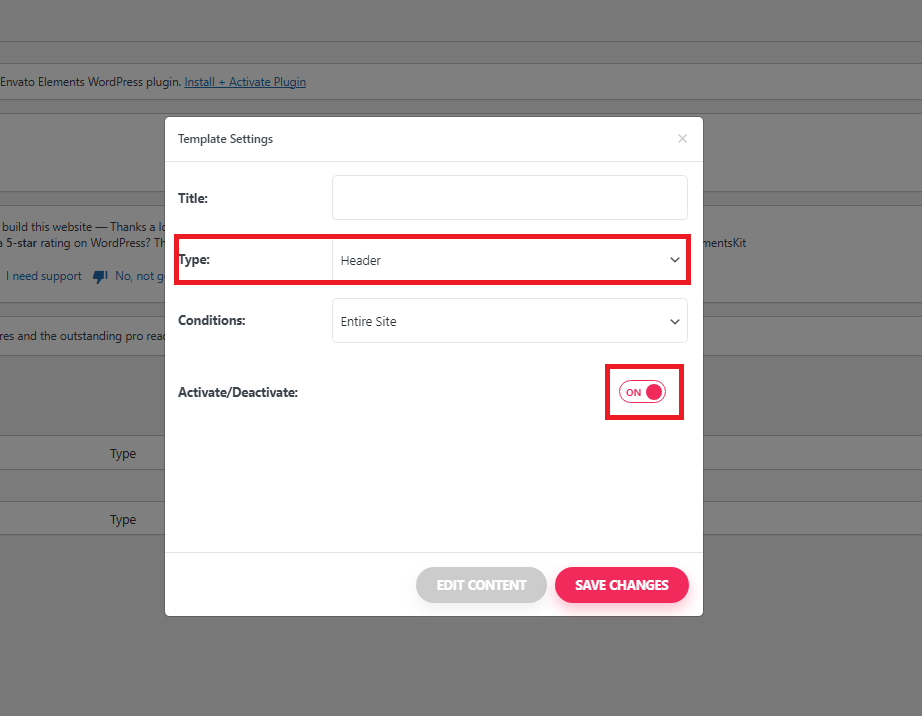
1. Create a New Template:
- Go to
ElementsKit > Header Footerin your WordPress dashboard. - Click Add New to create a new header.

2. Choose Template Type:
- Set the Template Type to Header.
- You can then either choose a pre-built header template from ElementsKit or design your own header using Elementor.
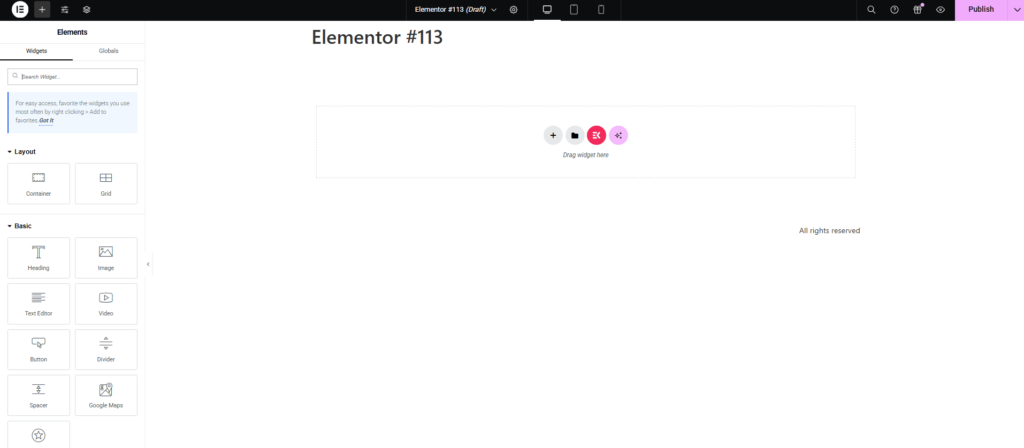
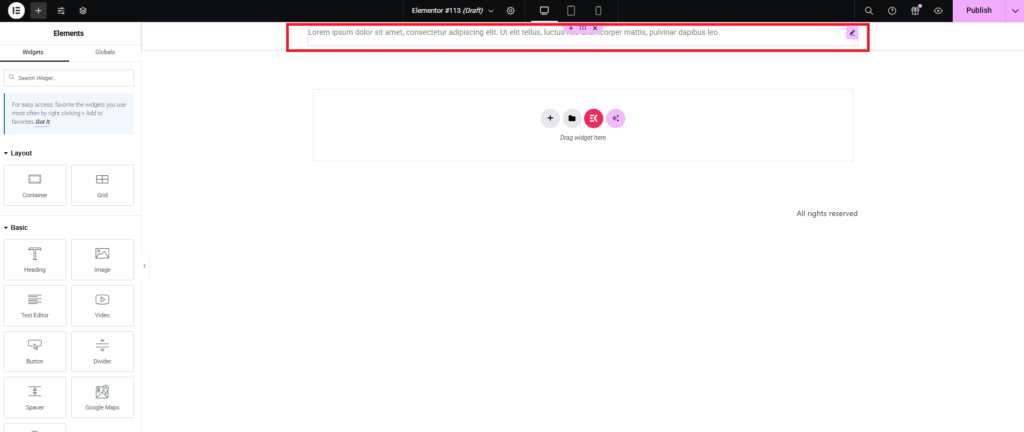
3. Design the Header:
- If you choose to design your own, go to
Templates > Saved Templatesand click on Add New to create a Section template (name it “Header”). - Use Elementor to design your header (add logo, navigation menu, etc.).
- Once the header design is ready, save it.
Create a Footer Template
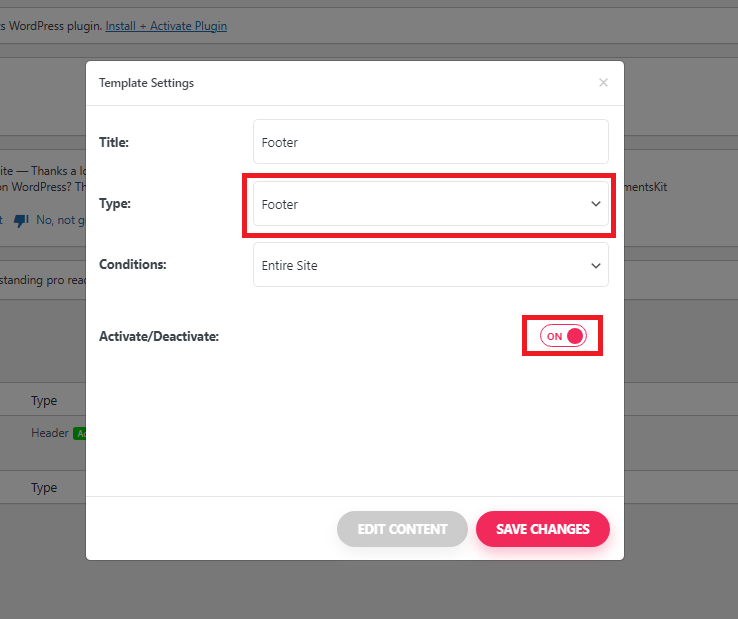
1. Create a New Footer Template:
- Go to
ElementsKit > Header Footerand click Add New to create a new footer.
2. Choose Template Type:
- Set the Template Type to Footer.
- You can either choose a pre-built footer template from ElementsKit or create your own.
3. Design the Footer:
- If you want to design the footer yourself, create a new Section template by going to
Templates > Saved Templatesand clicking Add New. Name the template “Footer.” - Use Elementor to design your footer (add social icons, copyright text, footer menu, etc.).
- Save the footer template.
4. Assign the Footer Template:
- Return to
ElementsKit > Header Footerand select the footer template you created. - Set the Display Conditions to
Entire Siteto show the footer on all pages. - Click Publish.
Step 3: Check and Test Your Header and Footer
- After publishing both the header and footer, visit your website to see if the templates are appearing on all pages.
- If the header and footer don’t appear as expected, check the Display Conditions and ensure they are set to apply to the entire site.
By using ElementsKit‘s Header & Footer Builder in combination with Elementor, you can easily create custom headers and footers on your website with the free version of Elementor, leveraging pre-built templates or designing your own from scratch.
