
Adding custom widgets to a Template Kit in Elementor Free with ElementsKit is a great way to extend the functionality of your designs. ElementsKit provides a collection of advanced widgets, modules, and tools that integrate seamlessly with Elementor. Here’s how to add custom widgets to a Template Kit:
Step 1: Enable the Widgets You Need
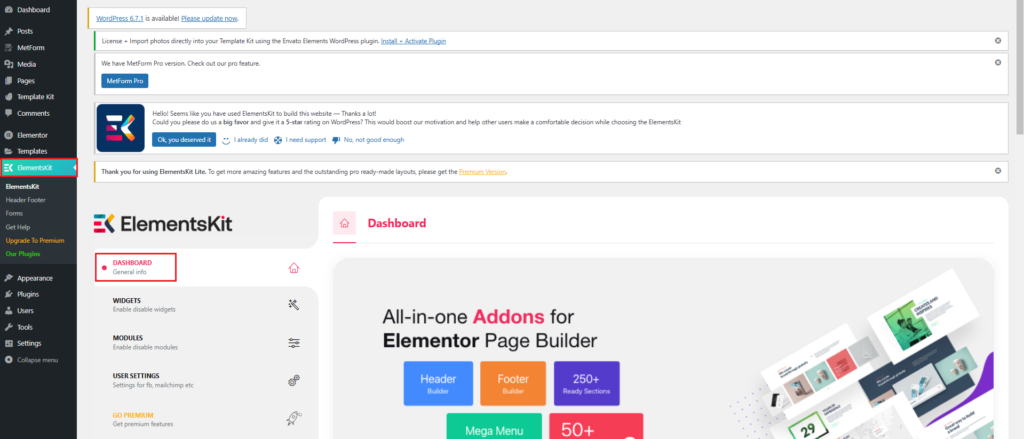
1. Navigate to ElementsKit Settings:
- In the WordPress dashboard, go to
ElementsKit > Modules. - You’ll see a list of available modules and widgets.”
2. Activate Custom Widgets:
- Toggle the widgets you want to use (e.g., Advanced Accordion, Pricing Table, Testimonials).
- Click Save Changes to activate them.
Step 2: Add Custom Widgets to Your Template
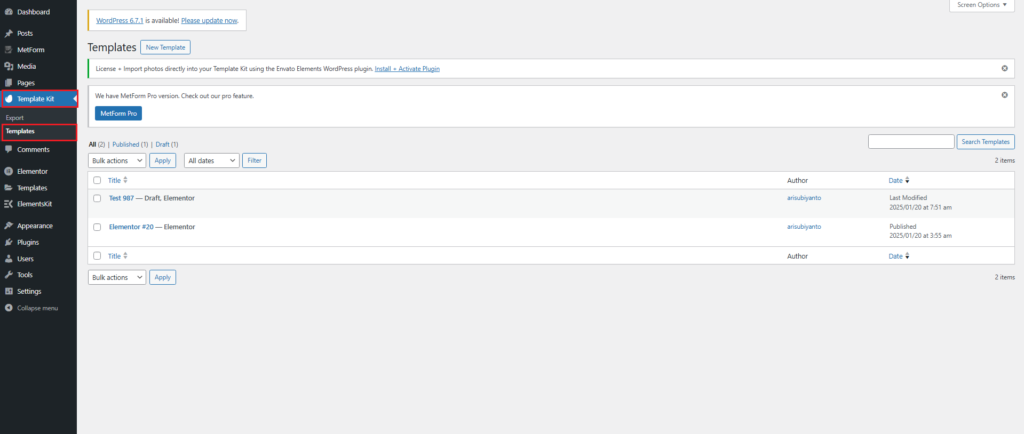
1. Edit Your Template Kit:
- Go to
Template Kit > Templatesor directly edit the page where you want to add the custom widget. - Open it with Elementor.
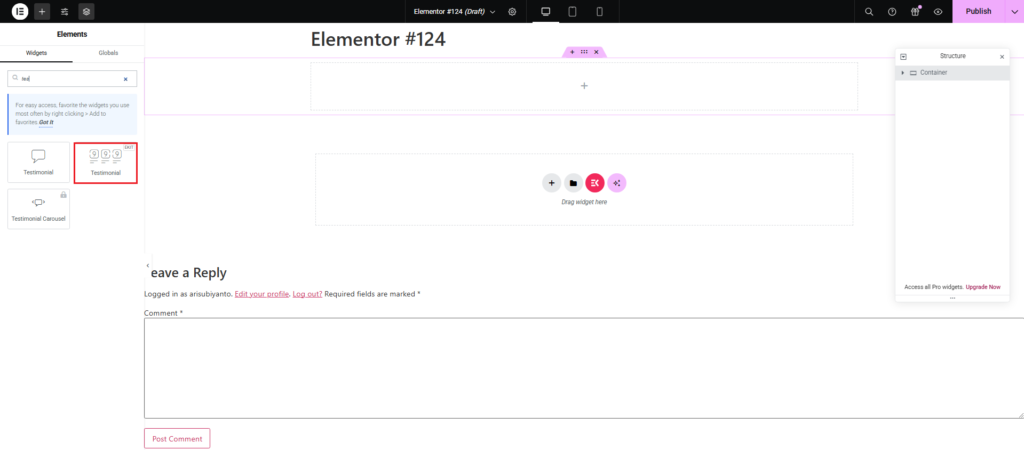
2. Drag and Drop Custom Widgets:
- In Elementor’s editor, search for the widget you enabled in ElementsKit (e.g., Advanced Accordion).
- Drag the widget onto your template design canvas.
- Customize the widget using the options provided in the left-hand panel.
Step 3: Customize Widgets in ElementsKit
1. Advanced Widget Options:
- ElementsKit provides advanced settings for styling, animation, and layout.
- You can adjust typography, colors, margins, paddings, and other widget-specific options.
2. Use Sections and Layout Presets:
- ElementsKit also provides pre-designed layouts and sections you can insert into your template for quick customization.

Step 4: Save and Publish Your Template
- Once you’ve added and customized the widget, click Update or Publish to save your changes.
Step 5: Test the Template
- Preview the page or the template to ensure that the custom widget is displayed and functioning correctly.
- Make additional adjustments if needed.
