
“Add Elements to a Page” in Elementor refers to the process of inserting widgets or design elements, such as text, images, buttons, or videos, into your webpage while using the Elementor editor.
How to Add Elements to a Page:
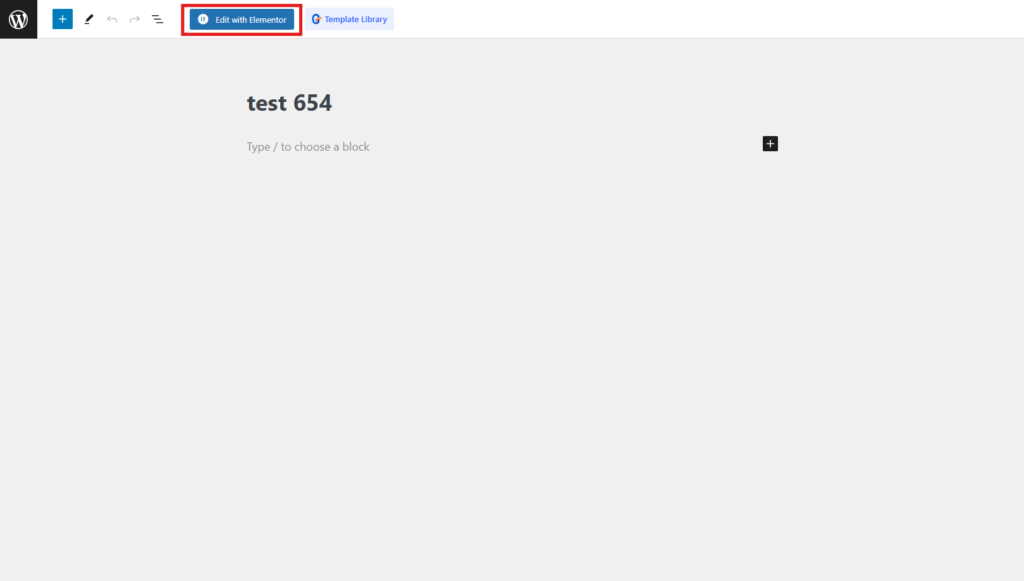
1. Open the Elementor Editor:
- Go to your WordPress dashboard, select the page you want to edit, and click Edit with Elementor to open the Elementor editor.
2. Access the Elements Panel:
- On the left side of the Elementor interface, you’ll see the Elements Panel. This contains a list of widgets (elements) that you can use, including headings, text, images, videos, buttons, and more.

3. Drag and Drop Elements:
- To add an element, simply drag it from the Elements Panel and drop it into the desired section or column on your page.

4. Customize the Element:
- Once the element is added, click on it to open its settings in the left panel. Here, you can customize its content, style, and advanced options, such as margins, padding, or animations.

5. Organize Your Layout:
- Use sections and columns to structure your page. You can add multiple elements within a section or column and adjust their placement to create a visually appealing layout.
Common Elements to Add:
- Heading: Add titles or headers to your page.
- Text Editor: Insert paragraphs or descriptive text.
- Image: Add images from your media library or upload new ones.
- Button: Create clickable buttons for calls to action.
- Video: Embed videos from platforms like YouTube or Vimeo.
- Form: Add contact or subscription forms.
- Icons: Use icons to enhance visual appeal.
This intuitive drag-and-drop method makes Elementor one of the easiest and most flexible tools for designing websites without requiring coding skills.
