Adding an image to your website with Elementor is quick and straightforward. Follow these steps to insert an image using the Elementor editor:
Step 1: Open the Elementor Editor
- Log in to your WordPress dashboard.
- Navigate to the page or post you want to edit.
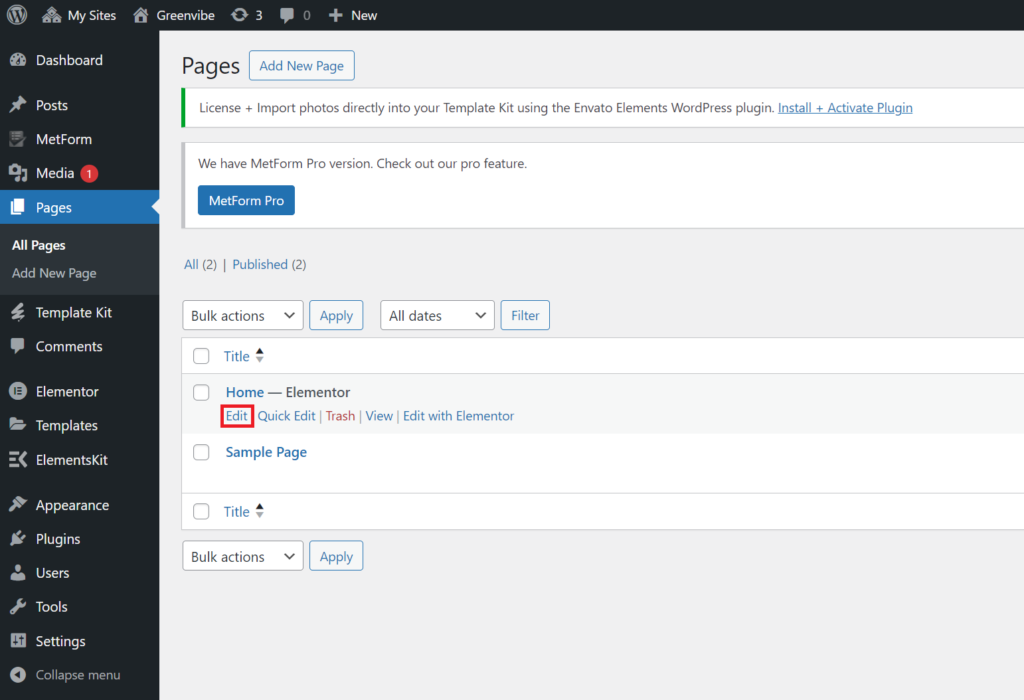
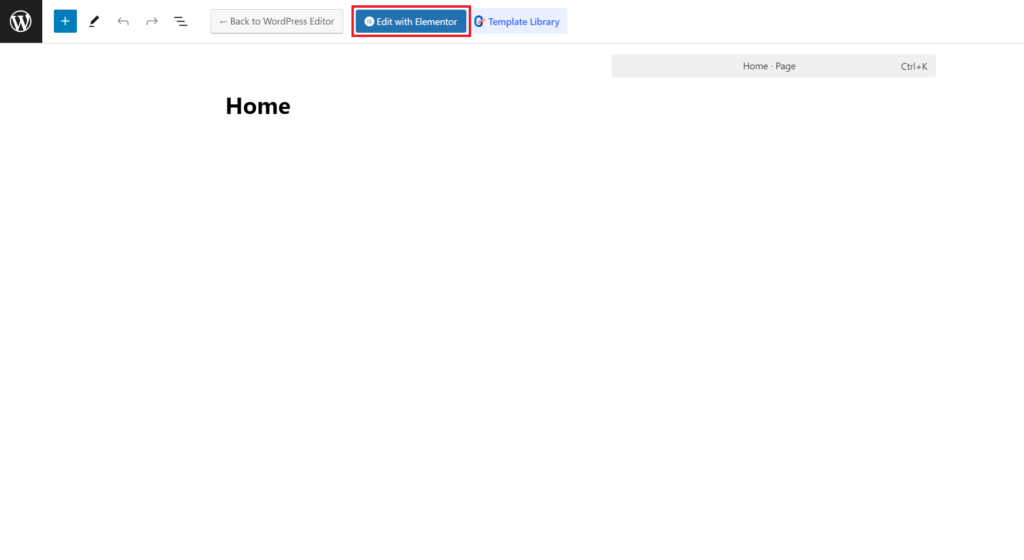
- Click Edit with Elementor to launch the Elementor editor.
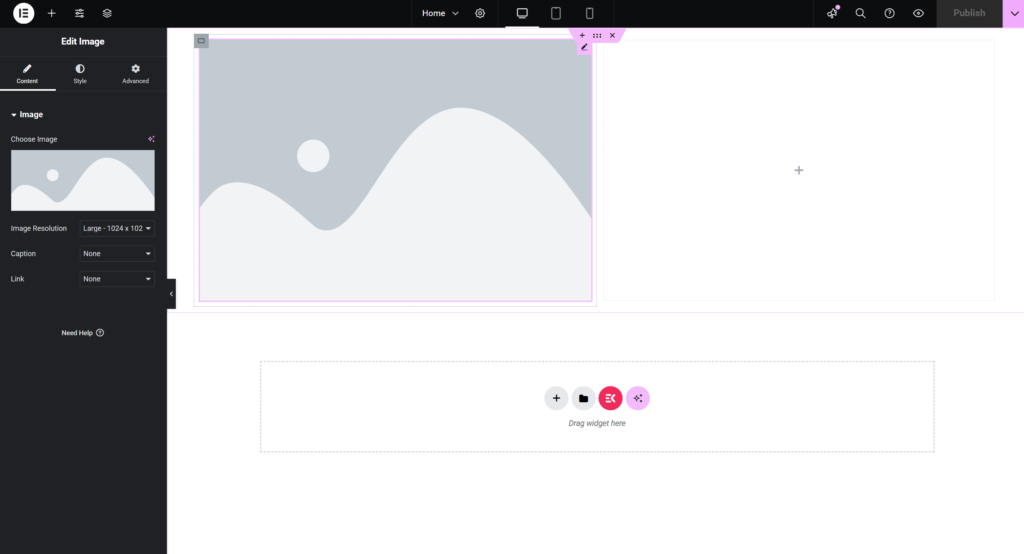
Step 2: Add an Image Widget
- In the Elementor editor, locate the Widget Panel on the left side.
- Search for the Image widget by typing “Image” in the search bar.
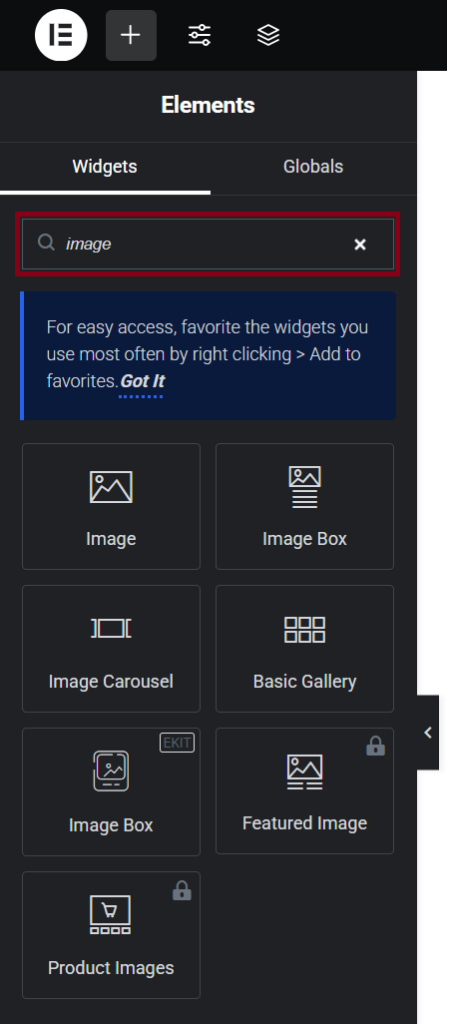
- Drag and drop the Image widget onto your desired section or column on the page.
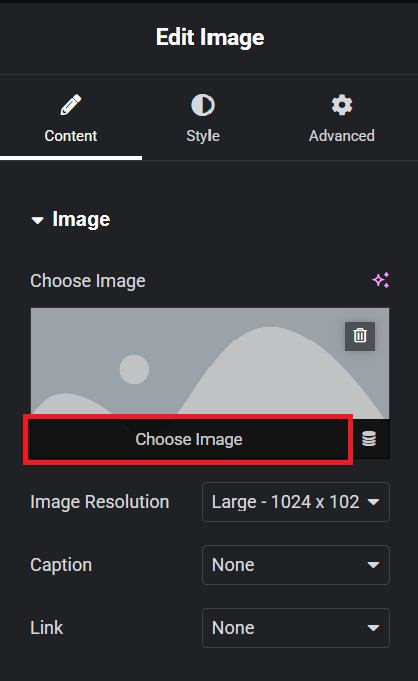
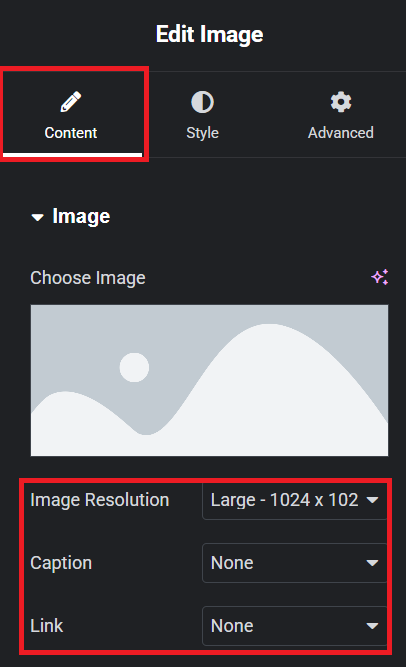
Step 3: Upload or Select an Image
- In the Image widget settings, click the Choose Image button.
- Upload a New Image: Click the Upload Files tab, then drag and drop your image or click Select Files to upload from your computer.
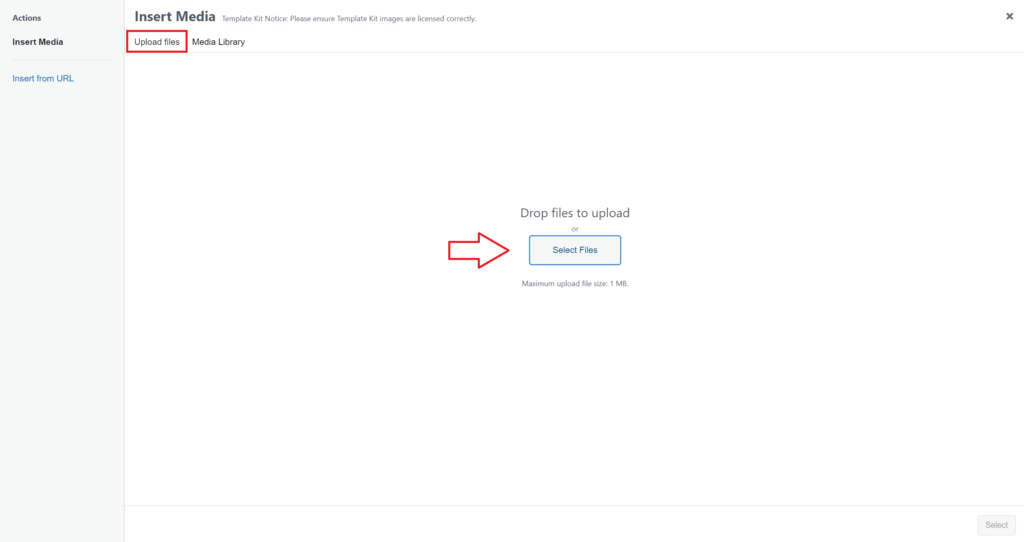
- Select an Existing Image: Choose an image from the Media Library.

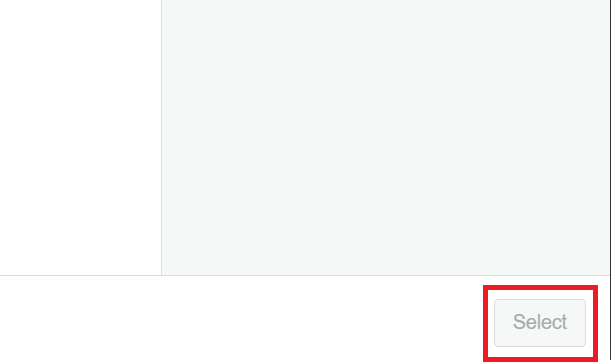
- Once you’ve selected or uploaded your image, click the Insert Media button.
Step 4: Customize Image Settings
- Use the Content tab to adjust basic settings such as:
- Image Size: Select from preset sizes (e.g., Thumbnail, Medium, Full) or set custom dimensions.
- Alignment: Align the image to the left, center, or right.
- Link: Choose whether the image links to a URL, the media file, or no link.
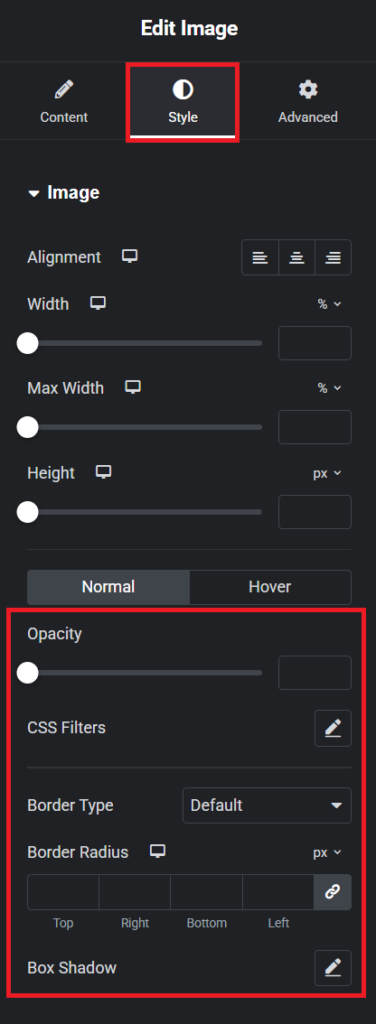
- Use the Style tab to customize design elements such as:
- Border: Add borders and adjust their radius.
- Shadow: Apply shadow effects.
- Opacity: Adjust the image’s transparency.
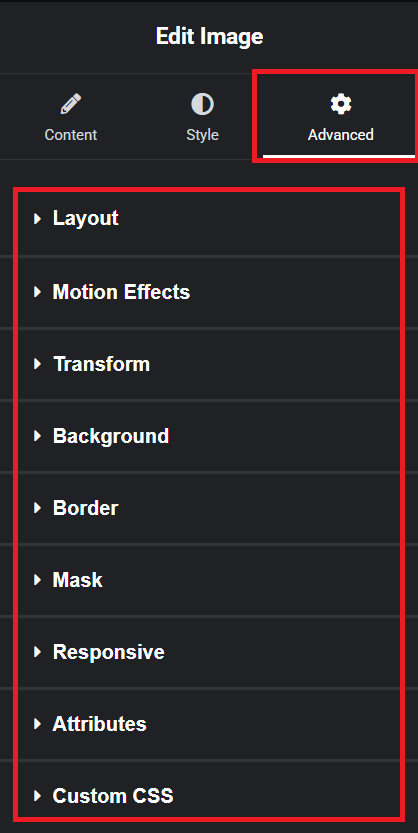
- Use the Advanced tab to add spacing, motion effects, or custom CSS if needed.
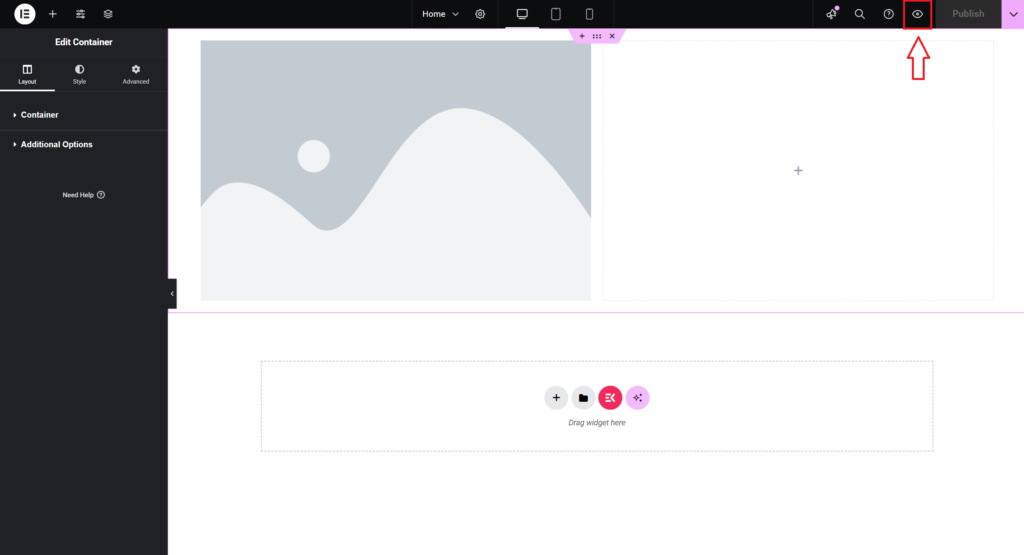
Step 5: Save Your Changes
- After customizing your image, click the Publish button at the top right of the editor to save your changes.
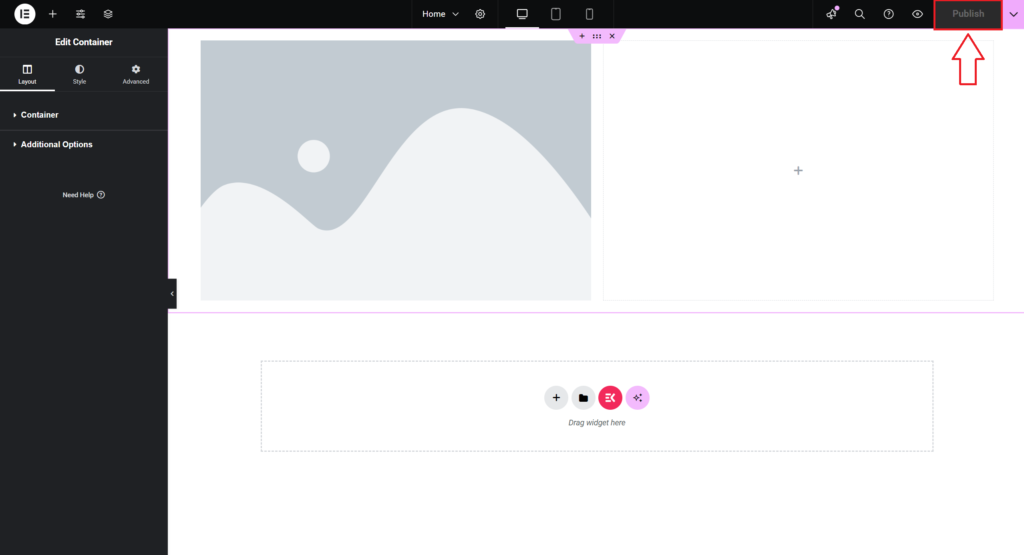
- Preview your page to ensure the image appears as intended.