
To add icons or icon lists in Elementor using a template kit, follow these steps:
1. Install and Activate Elementor & Template Kit
- Ensure you have Elementor installed and activated on your WordPress site.
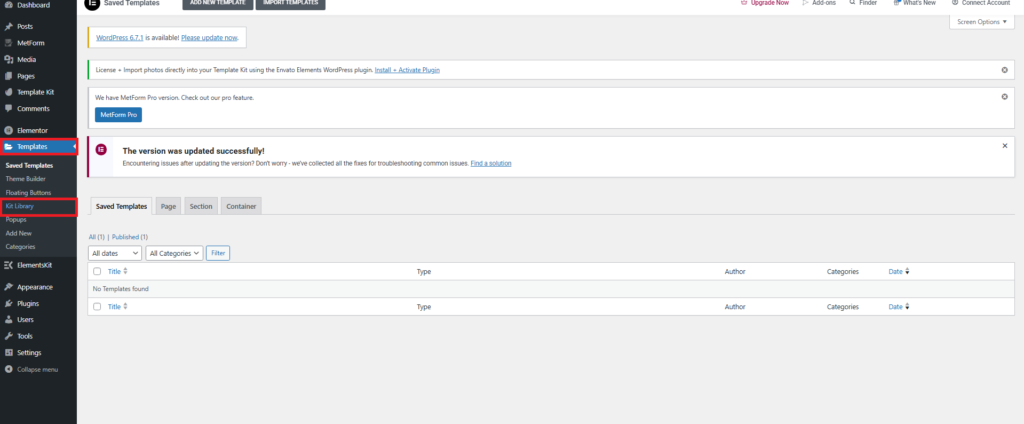
- Install and activate your chosen template kit by going to Appearance > Themes > Add New > Upload Theme (if it’s a theme kit) or through Elementor > Templates > Kit Library.
2. Edit the Page with Elementor
- Go to the page or post where you want to add the icons or icon list.
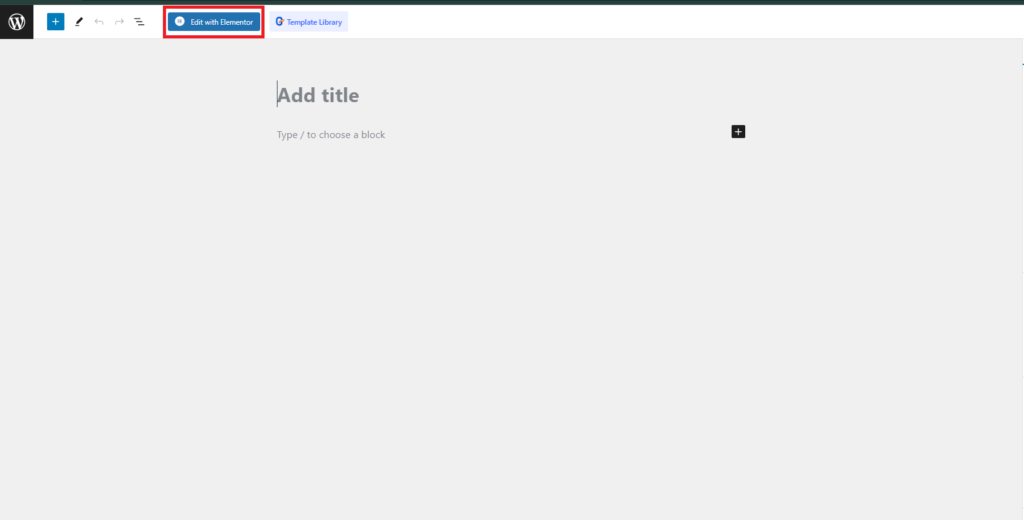
- Click Edit with Elementor to open the Elementor editor.
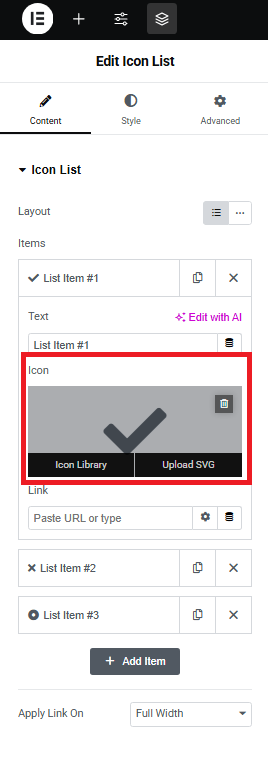
3. Using Icon Lists Widget
- In Elementor’s left panel, search for the Icon List widget.
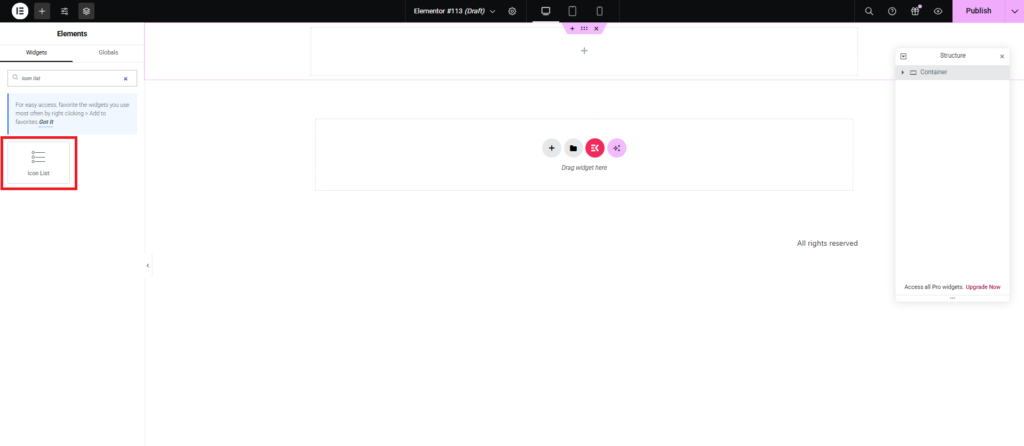
- Drag and drop the Icon List widget into your section or column.
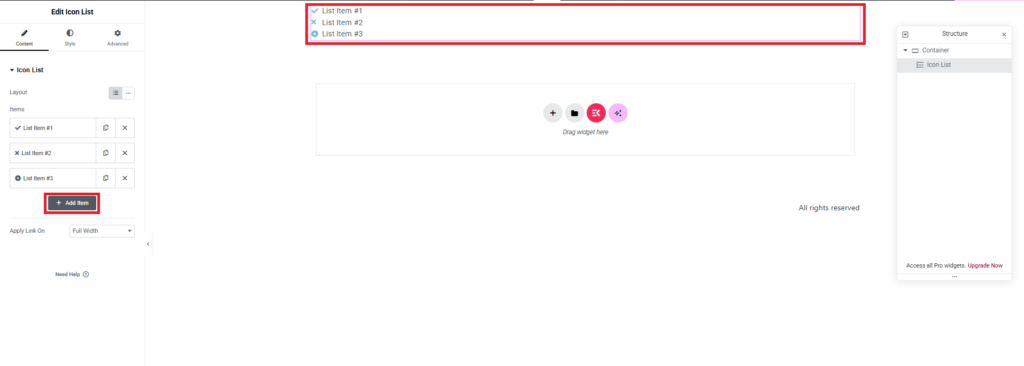
- By default, you will see a list with bullet points and icons. You can add more list items by clicking Add Item.
4. Customizing the Icons
- For each list item, you can:
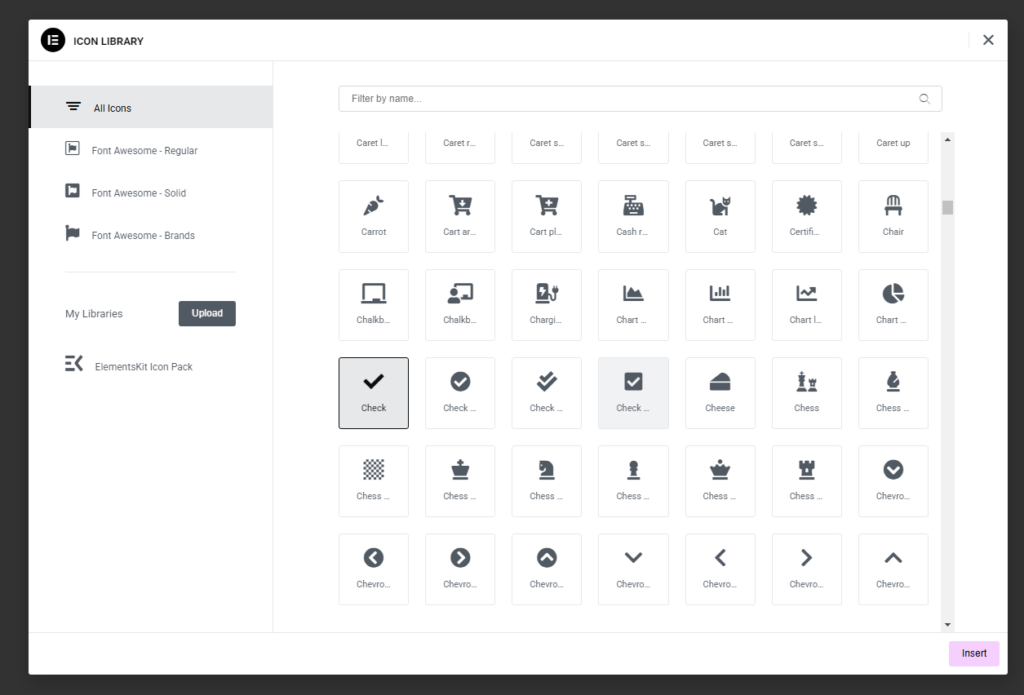
- Click on the Icon to choose from a wide variety of icons.
- You can use the Icon Library to pick an icon or upload a custom icon using SVG files.
- Customize the Size, Alignment, Spacing, and other styles for the icon as needed.
- Click on the Icon to choose from a wide variety of icons.
5. Adjust Icon List Styles
- Switch to the Style tab in Elementor.
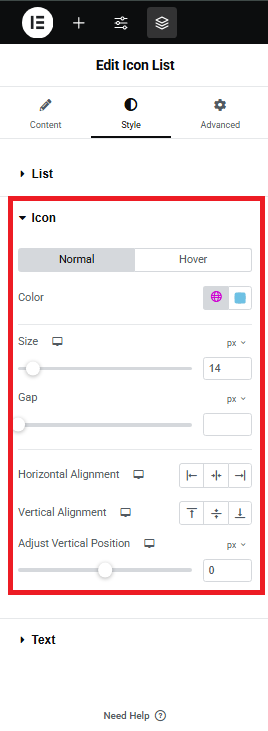
- Adjust the Typography, Text Color, Spacing, and Icon Color.
- You can also control the icon size, position, and spacing between the text and icon.
6. Publish Your Page
- After adjusting your icons and lists as desired, click Update or Publish to save your changes.
This process should help you add and customize icons or icon lists effectively using Elementor and a template kit. If you encounter any specific issues, feel free to ask for further guidance!
