
Elementor is a popular WordPress page builder plugin that allows you to create custom designs for your website without needing to write code. To use Elementor, you need to install and activate the Elementor Core plugin, which is the foundational part of Elementor. Here’s a step-by-step guide on how to install and activate Elementor Core:
1. Install Elementor Core
From WordPress Dashboard:
1. Log in to your WordPress admin panel.
- Navigate to your WordPress site by appending
/wp-adminto your domain (e.g.,yourdomain.com/wp-admin).
2. Go to the Plugins menu.
- In the WordPress dashboard, click on Plugins from the left-hand menu, then select Add New.
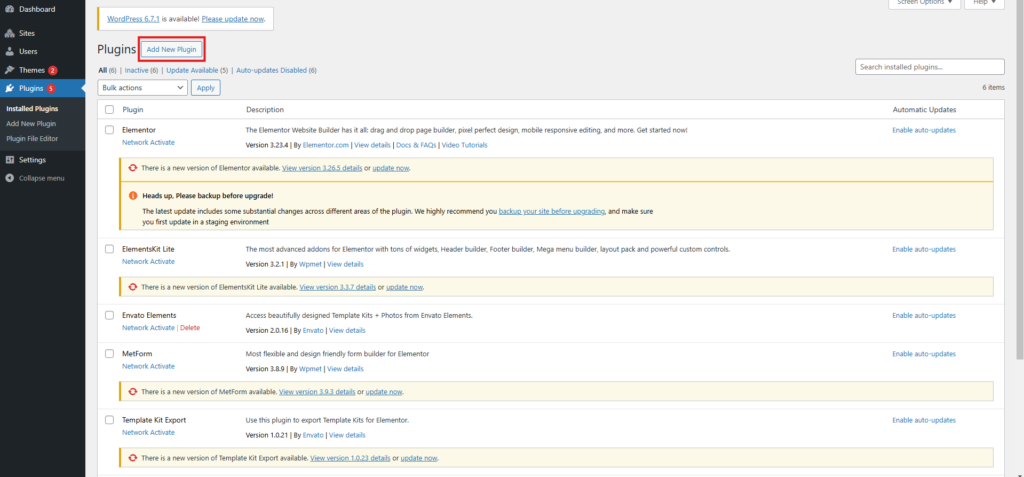
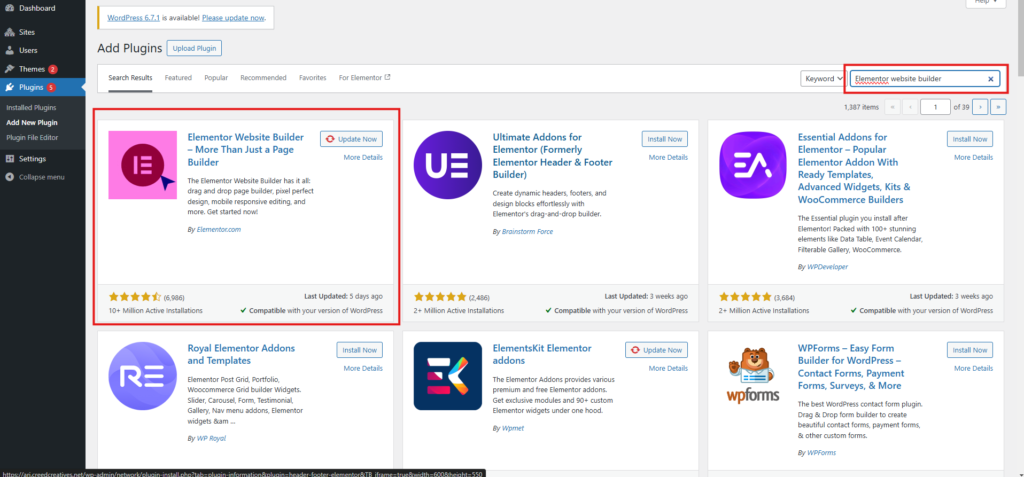
3. Search for Elementor.
- In the search bar at the top-right corner, type “Elementor.” You will see the Elementor Website Builder listed in the results.
4. Install the Plugin.
- Click the Install Now button next to Elementor.
5. Activate the Plugin.
- Once the installation is complete, click Activate to enable Elementor on your site.

3. Verify Successful Activation
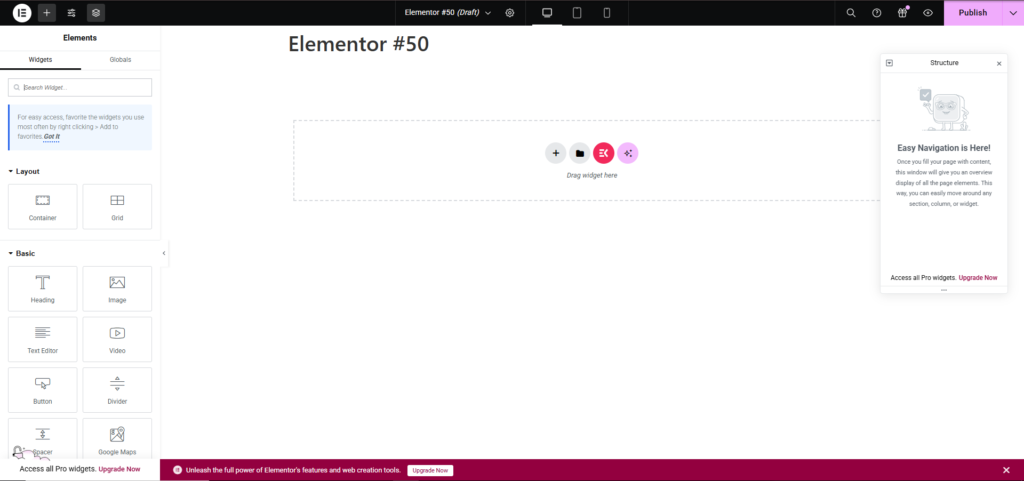
- After activation, you can access Elementor by editing any page or post and clicking the Edit with Elementor button.

- The Elementor editor will launch, allowing you to build and customize your website visually.
Key Notes
- Elementor Core is free and provides essential page-building tools.
- Elementor Pro is a premium add-on that extends the capabilities of the core plugin with additional widgets, templates, and features like Theme Builder, WooCommerce Builder, and more.
- Both plugins need to be installed and active if you are using Elementor Pro.
By following these steps, you can successfully install and activate Elementor Core and start designing your WordPress site!
