
Gradient backgrounds can add a sleek and modern look to your Elementor designs. Here’s how to effectively use them with a template kit:
1. Edit Your Page with Elementor
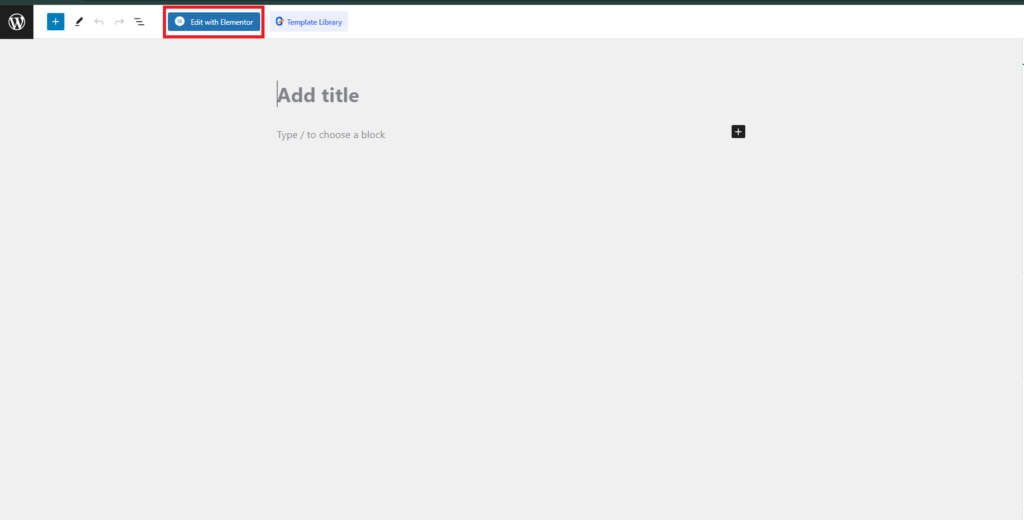
- Open the page or post you want to edit and click Edit with Elementor to launch the editor.
2. Select the Section, Column, or Widget
- Click on the section, column, or widget where you want to apply the gradient background. This will open the settings panel on the left.

3. Add a Gradient Background
- Navigate to the Style tab in the settings panel.
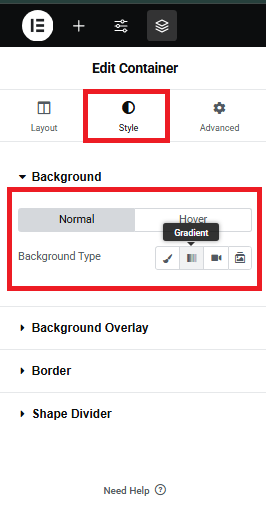
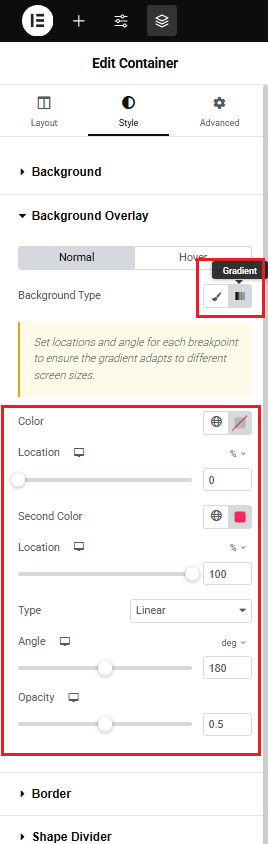
- Under Background, select Background Type > Gradient.
4. Customize the Gradient
- Choose Colors:
- Pick the first and second colors for your gradient. These can be solid colors or have transparency applied.
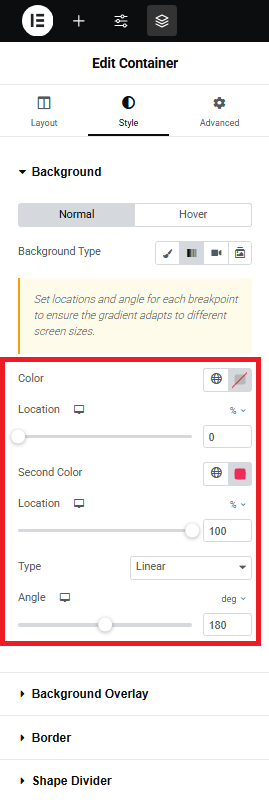
- Gradient Type:
- Choose between Linear (default) or Radial gradient styles.

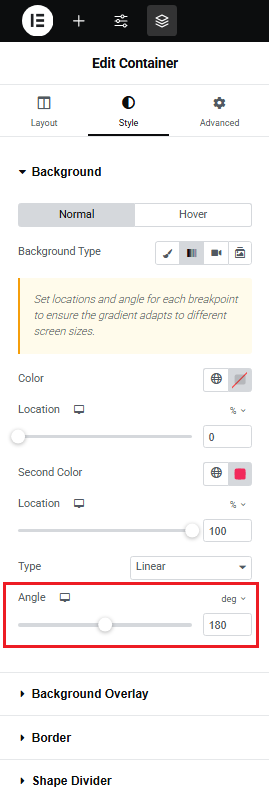
- Angle:
- For linear gradients, adjust the Angle (in degrees) to control the direction of the gradient (e.g., 0° for horizontal, 90° for vertical).
- Position:
- For radial gradients, adjust the Position to control the starting point of the gradient (e.g., center, top-left).

5. Enhance Gradient Backgrounds
- Add Overlay Effects:
- Under the Background Overlay section, apply another gradient overlay for a layered effect.
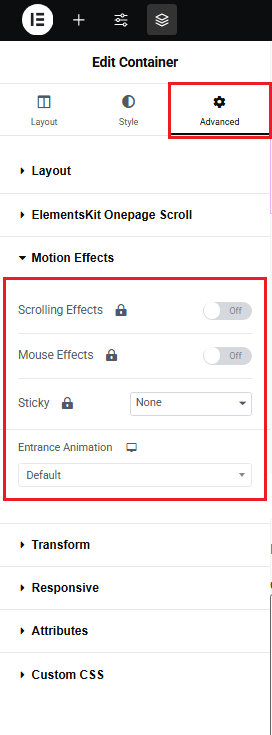
- Add Motion Effects:
- Go to the Advanced tab and enable scroll or hover effects to create interactive gradient designs.
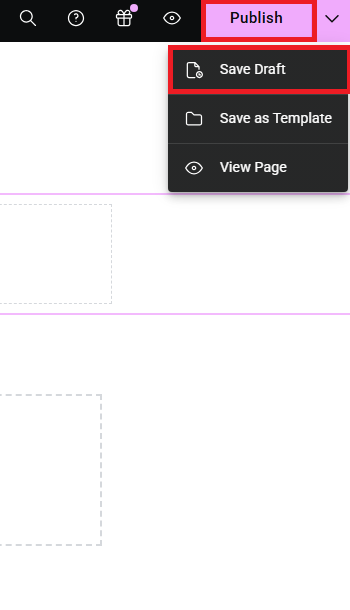
6. Preview and Publish
- Click Preview Changes to see how the gradient background looks in real-time.

- Once satisfied, click Update or Publish to save your changes.
Tips for Using Gradient Backgrounds
- Keep It Subtle: Use soft gradients to avoid overwhelming the design.
- Stick to Brand Colors: Gradients with your brand colors create consistency across your site.
- Combine with Transparency: Add transparency to one color to create unique overlay effects with background images.
By following these steps, you can easily create eye-catching gradient backgrounds in Elementor while working with a template kit. Let me know if you need further assistance!
